
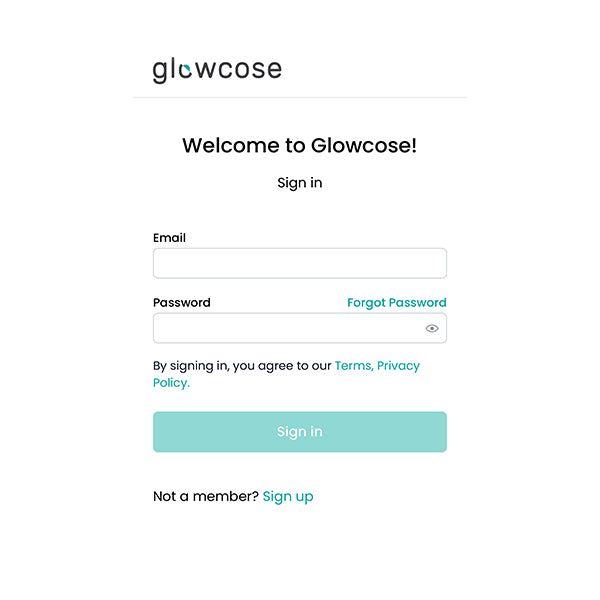
Step 1: Create your account
Head to glowcose.io and create a free account. This is your home base for managing your CGM connection, customizing your color ranges, and connecting your Glowcose devices.

Step 2: Link your CGM (Dexcom)
Once you're logged in, navigate to the CGM Link tab. Select your CGM type and follow the instructions below for your specific device.
You only need to do this once — your CGM data will flow into Glowcose automatically after linking.
FOR DEXCOM USERS:
For Dexcom users (G6, G7):
- Make sure Share is enabled in the Dexcom app on the wearer's phone.
- You must have at least 1 follower added in the Dexcom app for sharing to be active.
- On glowcose.io, select Dexcom and enter the wearer's Dexcom account credentials (not a caregiver/follower account).
Tip: Not sure if your credentials are right? You can verify them directly with Dexcom:
US-based: https://uam1.dexcom.com
Outside US: https://uam2.dexcom.com
Step 2: Link your CGM (Libre)
Once you're logged in, navigate to the CGM Link tab. Select your CGM type and follow the instructions below for your specific device.
You only need to do this once — your CGM data will flow into Glowcose automatically after linking.
FOR LIBRE USERS:
This one involves two apps, so here's the step-by-step:
- Open the Libre 3 app on the wearer's phone (not LibreLinkUp).
- Go to Connected Apps.
- Tap Add a Connection and create a new one. Make note of the email and password you use — you'll need these for Glowcose.
- Download the LibreLinkUp app (if you haven't already).
- Log in to LibreLinkUp using the connection credentials from step 3 and accept the Terms of Service.
- Back on glowcose.io, select Libre and enter the same credentials from step 3.
Important: Use the credentials from the connection you just created — these may be different from your regular Libre login.
Step 2: Link your CGM (Medtronic)
Once you're logged in, navigate to the CGM Link tab. Select your CGM type and follow the instructions below for your specific device.
You only need to do this once — your CGM data will flow into Glowcose automatically after linking.
FOR MEDTROINC USERS:
On glowcose.io, select Medtronic as your CGM type.
- You'll be directed to the Medtronic OAuth portal — log in with your Medtronic account credentials and authorize Glowcose to access your CGM data.
That's it — once authorized, your data will begin flowing into Glowcose automatically.
Step 2: Link your CGM (Nightscout)
Once you're logged in, navigate to the CGM Link tab. Select your CGM type and follow the instructions below for your specific device.
You only need to do this once — your CGM data will flow into Glowcose automatically after linking.
FOR NIGHTSCOUT USERS:
If you use Nightscout to manage your CGM data (compatible with a wide range of CGMs), you can connect it directly:
- Open your Nightscout instance and go to Admin Tools.
- Create a new subject with the role "readable" to generate an Access Token.
- On glowcose.io, select Nightscout and enter your Nightscout URL along with the Access Token you just created.
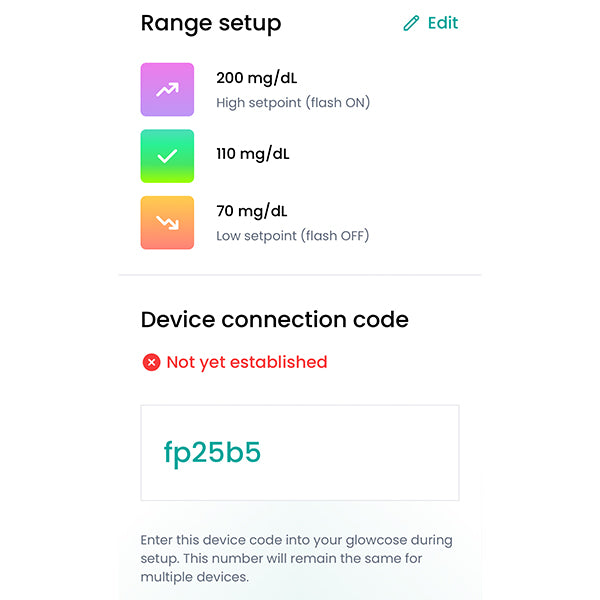
Step 3: Device Connection Code
First, locate your 'Device Connection Code' on the web app interface where your current blood glucose reading is displayed. Keep it handy, you'll need it shortly.
Remember, this code is unique to you and necessary to link your glowcose device with the glowcose web app. Also, one code works for all of your glowcose devices.
Step 4: Power on your glowcose
Plug in the included USB cable.
After a few moments, you'll see a multi-color rotation — this means your Glowcose is in Wi-Fi pairing mode and ready to connect. 🤙
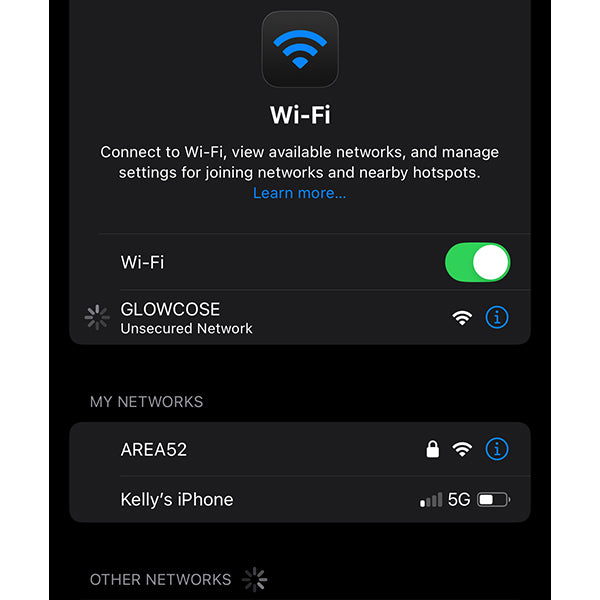
Step 5: Setup Wi-Fi Connection
On your phone or tablet, open your Wi-Fi settings and connect to the network named GLOWCOSE.
A setup page should appear automatically. If it doesn't, open any web browser (Chrome, Safari, etc.) and go to:
192.168.4.1
This connects directly to your Glowcose device over the local network — no internet connection is needed for this step.
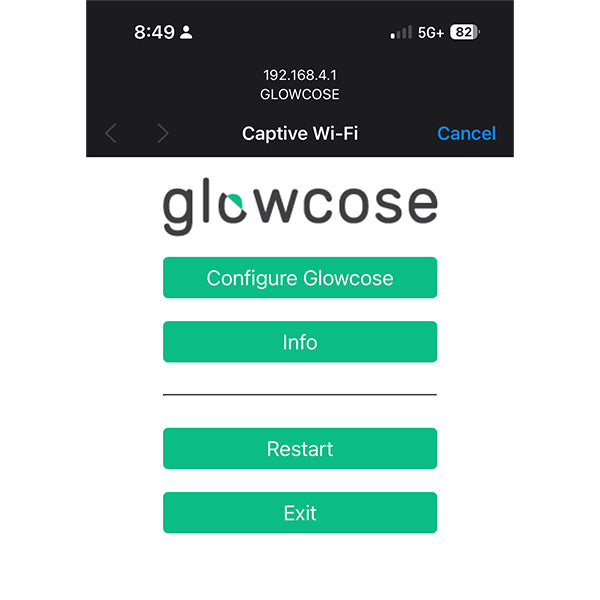
Step 6: Configure your Glowcose
Tap "Configure Glowcose" on the setup page.
It may take a few seconds for available Wi-Fi networks to appear while your device scans — this is normal.
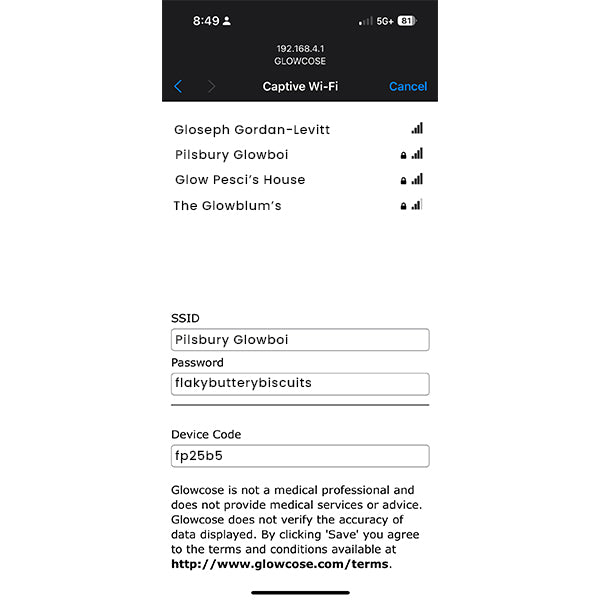
Step 7: Setup Wi-Fi and enter 'Device Connection Code'
- Select your home Wi-Fi network from the list and enter the password.
- Enter your 6-digit Device Connection Code (from Step 3) into the Device Code field.
Tap Save.
You're all set! 🎉
Your Glowcose will restart and connect to your Wi-Fi network. Within a minute or two, it should begin glowing with the color that matches your current glucose reading.
Your device remembers your Wi-Fi credentials, so it will automatically reconnect whenever it's plugged in and within range of your network. Feel free to move it around your home — the nightstand, kitchen counter, living room — wherever a gentle glow of awareness would be most helpful.
Quick troubleshooting
If something doesn't look right after setup, here's what your Glowcose is telling you:
Pulsing yellow — Your Device Connection Code may be incorrect. Visit glowcose.io and double-check the code, then reset your device and try again.
Solid white — Your Glowcose can't reach your CGM data. This usually means either your Wi-Fi credentials were entered incorrectly, or your CGM link needs attention. Check both on glowcose.io.
Multi-color rotation — Your device is in pairing mode and waiting for Wi-Fi setup. Head back to Step 5.
Need to start fresh? You can factory reset your Glowcose at any time: unplug the USB cable, press and hold the button on the back, plug the cable back in while holding the button, and wait for a red light. Then start again from Step 5.
For more help, check out our FAQ page or reach out to us — we're always happy to help.
All product names, logos, and brands are property of their respective owners. Use of these names, trademarks, and brands does not imply endorsement or affiliation. Our products are designed to be used in conjunction with third-party products and services, but we are not endorsed by or affiliated with those third parties.